|
So I have finished Digital design and Animation II and my biggest take away is that 3DS Max is a tool that allows you to model some great models (see image below).3Ds Max allows you to create different models, animations that you can use for a film, a simulation to show how a product works. Or even better allows you to create your own product to present. The thing that mattered most to me is the business and employment aspect of the class that we go over at the beginning of the year. This will be helpful to me as I search for employment because to get hired one must look decent to their potential employer. I learned how to create an active but not boring resume. I learned how a business cycle works.Learning about the planning in Pre-Production, to the Production and the Post Production. It is alot like the cycle of investigating crimes. You gather the evidence, then you investigate, Make the arrest and then the trial. The most rewarding experience I got from the class was a platinum on the ACT Workkeys test that all CTE Seniors have to take. Since I got such a high score this certifies me to employers that I am 99% ready to join the work force, and because of that I can put it on my resume. I think that the skills of working with different programs will help me in the future for presenting information to people. I will be pursuing a career in Law Enforcement. For example I can create a simulation of a car crash using 3Ds Max and then using Adobe Premiere I can turn the simulation into a video and present it to the court room. I can also put all the evidence of a crime into one document using Adobe Photoshop. Or present the evidence to a team using Microsoft PowerPoint.
0 Comments
Starting last week I started using the lighting features in 3ds Max.Lighting can be used for many things it can make the scene look more realistic. It also can be used to draw attention to a subject in a scene for example showcasing a new modeled car for a company. Another thing that makes lighting so help is that they are really easy to use you selected the type of light you want and drag it to where you want it to be placed. We can use different lights for different things. For example an Omni light makes light go everywhere in a certain radius. This can be used for objects like lamps. You can use the skylight to provide a light to the whole scene. Using directional light simulates the sunlight. The Sun Positioner makes it where you can have the sun set to a certain date and time to create more realistic shadow.The Free and Target spotlights are useful when you are showing light on an object. Free spotlights put the light on the whole scene or stage, while a target spotlight puts the light on one specific object or person in a scene or stage.
Battlefield V is a good game the graphics are amazing. But to critique it I will be focusing on the campaign. They really seemed to make the story about minorities fighting not that that's a bad thing but at the same time it should be more action than a history lesson. I liked how it tied in the historical facts to the missions you did. That's the other thing I did not like the campaign was too short. All of world war two yet they couldn't add more missions. I mean they didn't have to really think of a "mission" just use battles from history such as storming the beach on D-Day or fighting Iwo Jima. They only focused on war in Europe and North Africa not the Pacific theater. So overall I was displeased with the campaign.
So over the last week I took the robot that I was making in 3ds max and unwrapped it and UVW mapped it to get a better paint scheme that was more customized. When you do this you open the UV editor and go and save all of the selected objects to a 2d jpeg. You then go and open it up in Photoshop and paint them objects the way you would like to. Then you add a material to it in 3ds max and selected the changes. 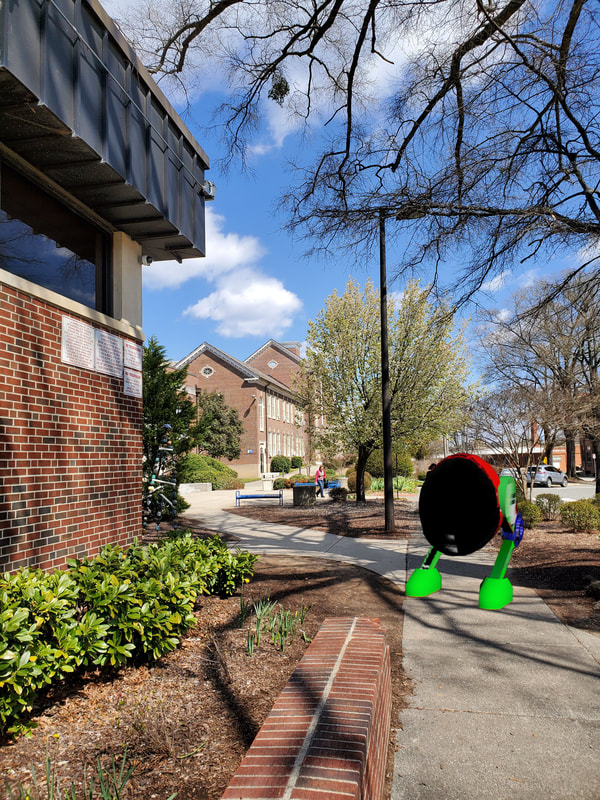 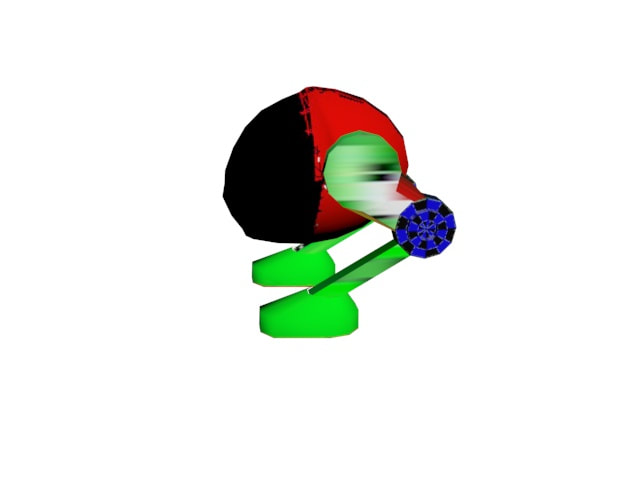 So along with my neighborhood our incompetent I.T department deleted my robot walker. Now this doesn't take a lot of time to make about to 1 hour an 30 minutes but when you start it and come back and its gone it gets frustrating. I put different shaders on the robot such as Blinn and metal. see the picture below. 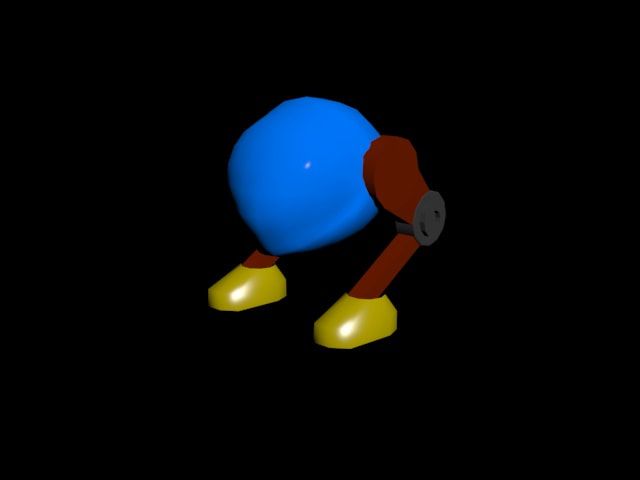 So over the last few weeks I have been applying materials to a train station. The purpose of this is to make the materials look more realistic by giving the model its real world properties. For example the train has a glossy metallic look to it because I applied a aluminum material to it. I put plastic textures on the gates and on the chairs.See below pictures. i added more metal modifiers to the ticket dispensers and put a concrete modifier on the building itself. 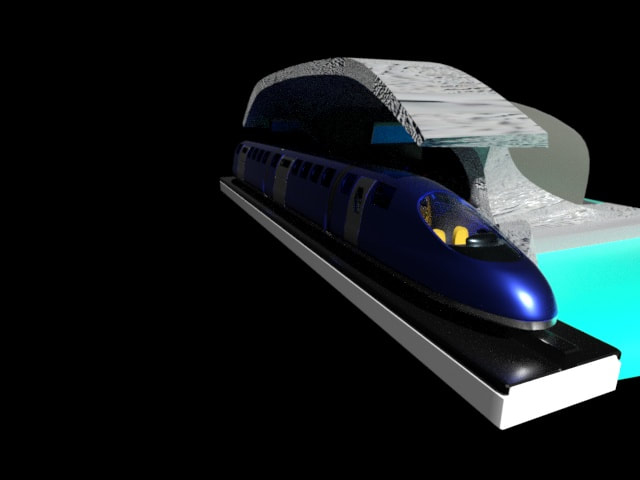 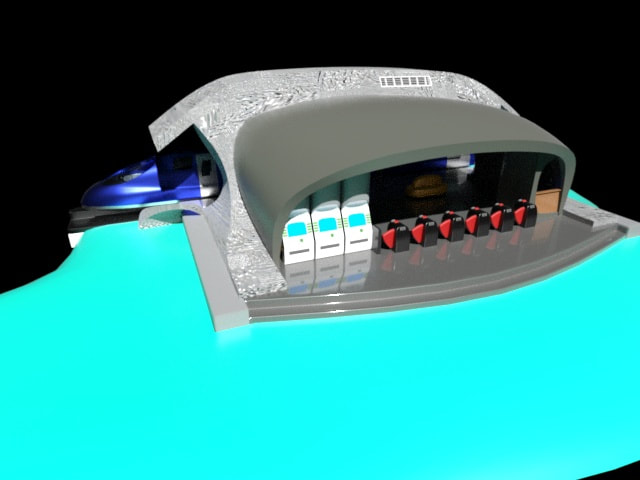 So I finally finished my one project that was supposed to be done about a month ago, but thanks to the I.T department they thought to fix a problem it would mean erasing everyone's saved data. We got notice of this at the last minute and I was away on a college tour the day we got told to back up everything. So when I got back everything was gone. And the best part doing that didn't fix the problem. But anyways here is a picture of the finished neighborhood. 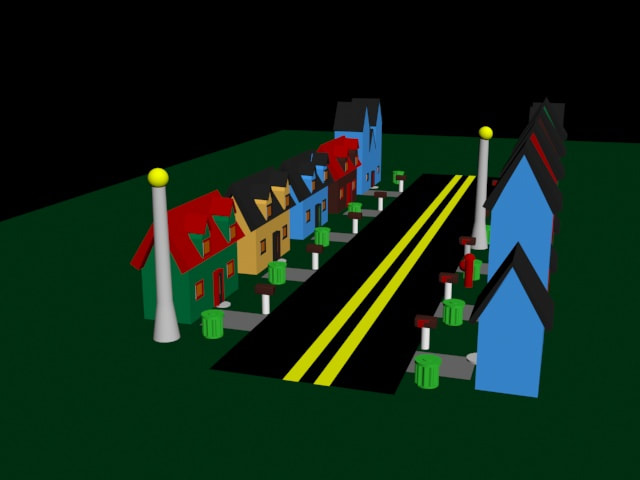 So I have finished the flags waving and now have time to reflect on why the forces make everything seem more realistic. My flags are waving in the wind. This then makes the environment way more realistic. So without further please see the image below. 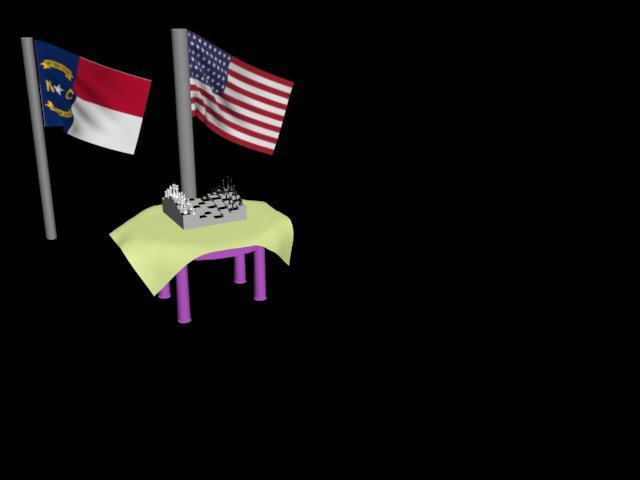 So over the year we have used many techniques.I have found that I like all of the forces and material editors the best because they take a unrealistic flag and bring it to life by simulating the wind. These may seem like small things but it is these tiny effects that make or break the scene. For instance texturing a house so it is not just a plain animated color an you make it look like a brick mansion, making the roof look like shingles.It is the Instead of me putting a neighborhood on a one color plane I select certain polygons and paint the roads and sidewalks. I also attached numbers to the houses and put odd numbers and even numbers on different sides to resemble how they would look on a actual street. The material editor is lovely because I can put textures on things such as the American Flag, I take a 3D plane and put on a cloth modifier which makes it act like cloth and then I open up the material editor and but the bitmap of the American flag on it. A bitmap is just a 2D image that you can place on a 3D object.So to recap the smaller effects and systems such as forces just really make the model look way more realistic.
Video game designers use many simulations to make the game see more realistic. For example they use daylight, cloth and particle systems. The Daylight system sets up what the name implies. Designers use this to set up how the lighting of a model is, this can be helpful for when modeling a house because you can control the angle at which the sun hits to create shadows on the house making it look more realistic. The Cloth system is used to make fabric and cloth look more realistic on models.Game designers use the cloth modifier and garment maker to create clothes for characters they model. Then there is the Forces Systems this controls Earth's most important law Gravity. This is essential in most games because what goes up must come down, otherwise the player may jump and never come back down to the ground. Another force is the wind. this makes a simulation more realistic for example a waving flag. Another way the wind force is used is in the environment and background, if the player is in the . Kinematic forces are forces that you apply to objects that makes them subjected to gravity and physics. These can also be animated using a rigidbody. Static Forces are like kinematic but can't be animated so they usually get placed onto buildings and other objects that do not move.
“Rigid Body Overview.” Autodesk Support & Learning, knowledge.autodesk.com/support/3ds-max/learn-explore/caas/CloudHelp/cloudhelp/2016/ENU/3DSMax/files/GUID-E8ED96F1-1F64-4EE3-944C-586B70CE0C54-htm.html |
AuthorI am a 12th grader at DSA in a game design class. I will be making games and learning new techniques. The views and opinions expressed in this blog are solely those of the author and do not represent those of Durham School of the Arts or Durham Public Schools. Archives
June 2019
Categories
All
|
 RSS Feed
